Last updated November 20, 2026
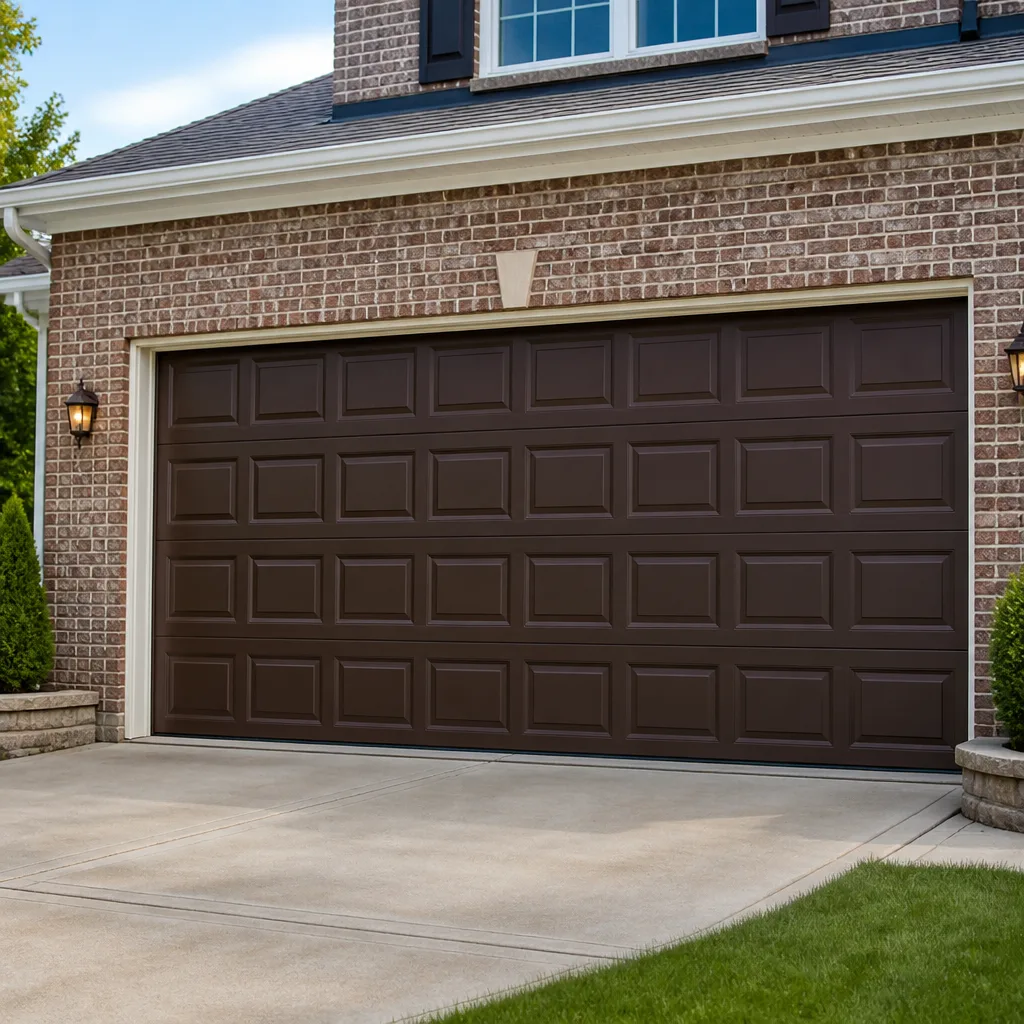 Raised-panel steel
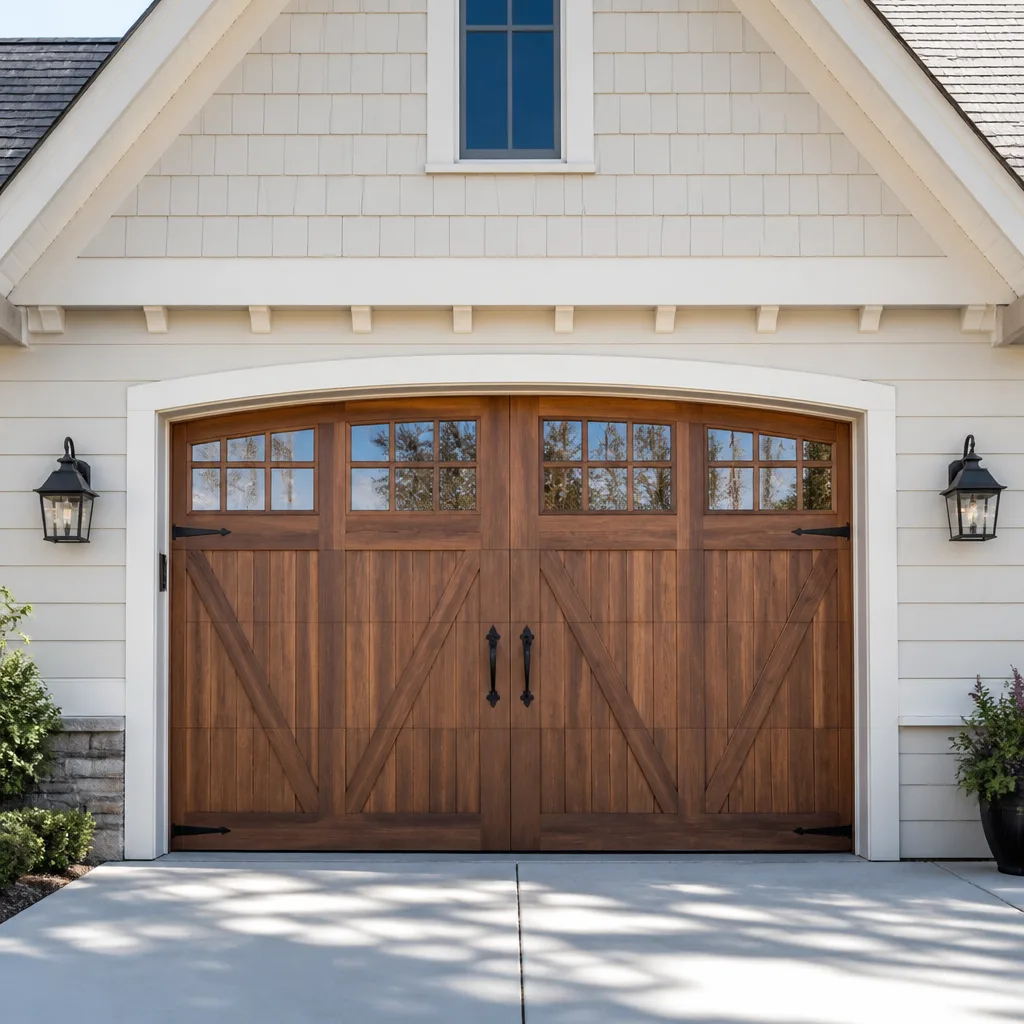 Carriage house
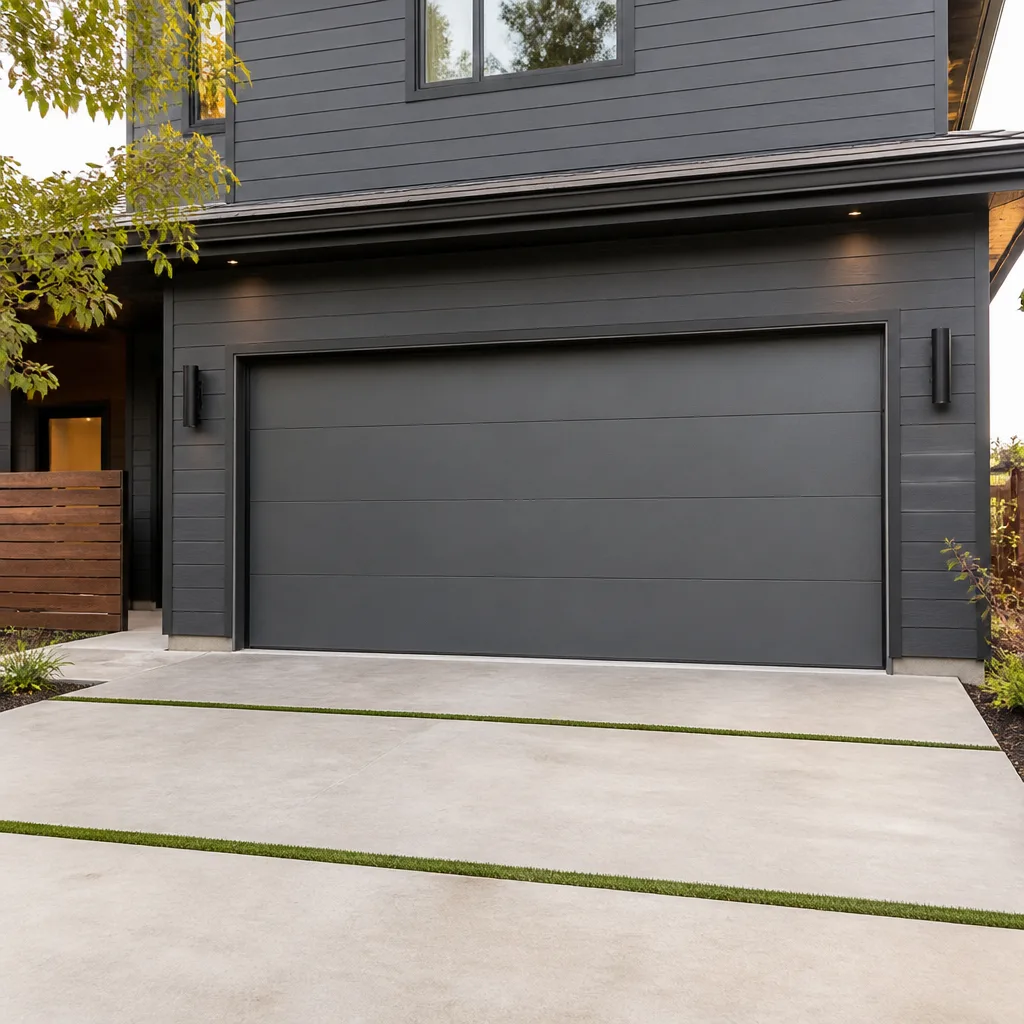 Modern flush
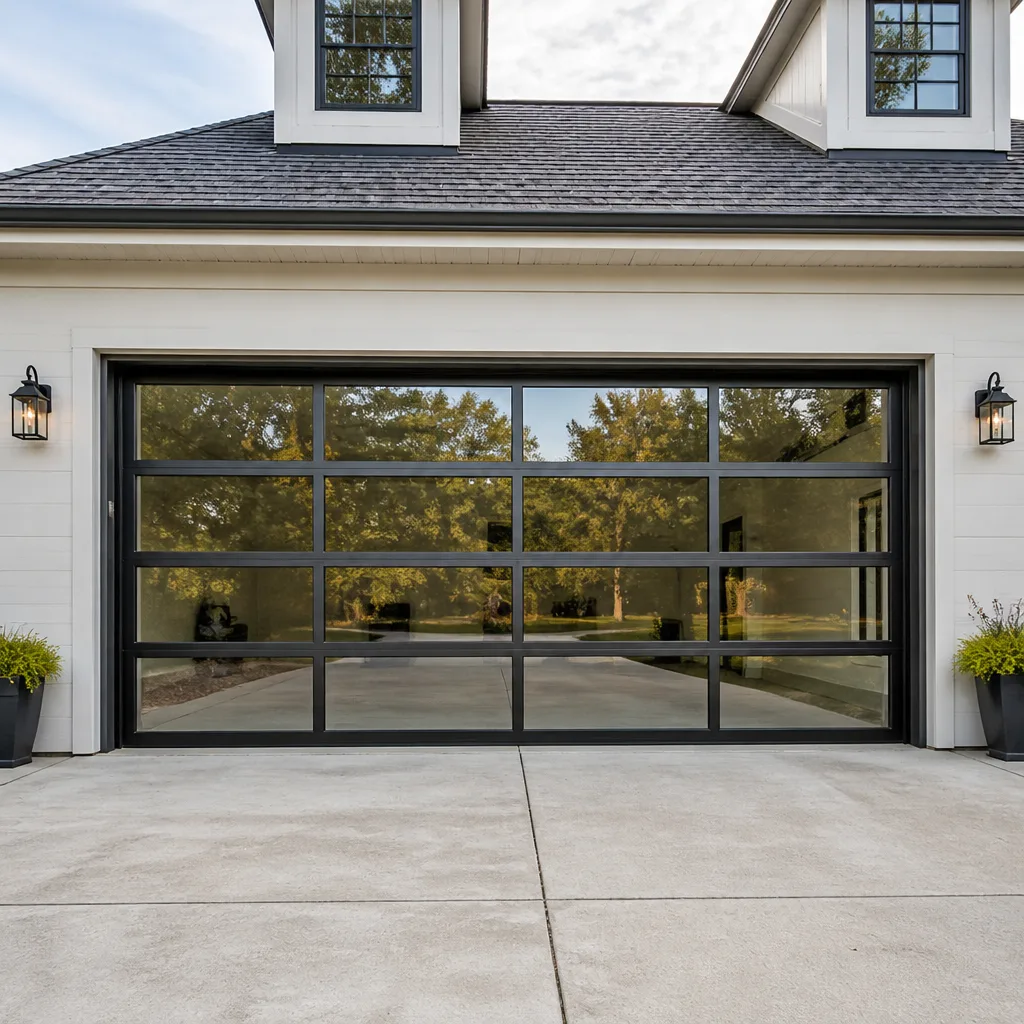 Full-view glass
 LiftMaster openers
 Chamberlain openers
Full 25-point door and opener safety check with every visit - springs, cables, rollers, tracks, and your LiftMaster or Chamberlain opener included
You get a price before we start. It does not change when the pro arrives.
Get your free estimateGarage Door Repair Maintenance Checklist for Holly Hills Homeowners
Torsion spring tension is measured in foot-pounds of stored energy. A fully wound residential spring holds enough force to snap a wrist or break a jaw if it releases while someone is leaning into the drum. Yet nearly every online checklist lists “check springs” right next to “lubricate hinges,” as if one task and the other carry the same risk. They don’t. Not remotely. That flatness is the problem with most maintenance advice, and it’s why we wrote this guide differently. Every task here is classified green, yellow, or red, so you know exactly what’s safe to touch, what needs care, and what you should never put a hand on. You’ll also get a component-by-component lubrication map, the fraying patterns to catch early, and a seasonal rhythm that fits the freeze-thaw swings we see across Holly Hills.
Quick Answer
A thorough garage door maintenance checklist covers four areas: lubrication (rollers, hinges, and the opener rail, never WD-40 on springs), visual inspection (cables, drums, panels, and seals), balance and safety testing (the door should hold at the halfway point and reverse on contact), and seasonal weatherstripping care. Most tasks are safe to do yourself. Spring, cable, and drum work is professional-only because those parts are under high tension. A spring check in Holly Hills should be eyes-only, and anything that looks unwound, bent, or rusted at the coil warrants a call.
Styles & brands we work with
- Raised-panel steel
- Carriage house
- Modern flush
- Full-view glass
- LiftMaster openers
- Chamberlain openers
Table of Contents
- The Green, Yellow, Red Safety Framework
- Component-by-Component Lubrication Guide
- Reading Cables and Drums: What Early Fraying Looks Like
- Seasonal Timing for Holly Hills: Freeze-Thaw and Weatherstripping
- Opener Force and Auto-Reverse Testing: The CPSC Standard
- Balance Test and Roller Condition Check
- When to Replace a Part vs. Repair It
- Common Mistakes to Avoid
The Green, Yellow, Red Safety Framework
Before you touch your door, understand that the components inside it do not share the same risk profile. Classifying each task honestly is the single most important maintenance decision a Holly Hills homeowner makes. Here’s how we break it down.
Green: Safe to Do Yourself
- Visual inspection of panels, springs, cables, and hinges (eyes only, no touching)
- Lubrication of rollers, hinges, and the opener rail with the correct product
- Wiping down panels and checking the weatherstripping seal
- Testing the auto-reverse feature on the opener
- Replacing the opener’s battery in the remote and safety sensors
Yellow: DIY With Specific Precautions
- Adjusting the opener’s force limit (do this slowly and re-test after each change)
- Visual drum inspection (look, don’t loosen the set screws)
- Replacing a bottom seal or weatherstripping (requires the door to be fully closed and unplugged from the opener)
- Tightening any bolts you can reach with the door closed and the opener disconnected
Red: Professional Only, No Exceptions
- Anything involving torsion springs (adjustment, replacement, testing)
- Anything involving extension springs, cables, or drums
- Disconnecting a cable from a drum or bracket
- Straightening a bent track under tension
- Any door with a broken spring that won’t open or close on its own
The line here matters for a reason. Torsion and extension springs store energy even on a door that looks perfectly still. When a Clopay or Amarr door in Holly Hills comes to us with a snapped spring, the owner often says they were “just going to spray it.” That’s the instinct this framework is designed to redirect. Spray it is fine. Touch it is not.
Component-by-Component Lubrication Guide
Lubrication is the most misunderstood maintenance task on a garage door. Most homeowners reach for a can of WD-40 and spray everything that looks metal. That’s a mistake with real consequences. Not all products work on all components, and some attract dust that grinds parts down faster than the action of skipping lubrication entirely.
What to Use on Each Component
- Rollers (metal): Silicone spray or a dedicated garage door lubricant. Metal rollers need a light film that won’t attract grit.
- Rollers (nylon): Silicone spray only. Nylon rollers don’t need heavy lubricant and can be damaged by petroleum-based products.
- Hinges: White lithium grease or garage door lithium in a tube. A thin amount at each pivot point is enough.
- Opener rail (chain drive): Chain and cable lubricant or lithium grease, thin line along the chain. Not oil.
- Opener rail (belt drive): Nothing. Belt drives are sealed and should be cleaned, not greased.
- Torsion springs: Nothing. Ever. Do not spray them.
- Extension springs: A light film of garage door lubricant applied with the door fully closed is acceptable, but never while holding the spring.
What Never to Use
WD-40 is not a lubricant for garage door springs. It’s a penetrating oil that will strip existing protective coatings and, on a torsion spring, offer zero benefit while leaving a slippery film on a component you should be looking at, not handling. The same goes for motor oil, cooking spray, and any spray that foams or leaves a residue. On rollers and hinges, WD-40 dries to nothing and does not lubricate – silicone or lithium is the correct choice.
Frequency in Holly Hills
Twice a year is the baseline: once before the summer humidity peaks and once before the first hard freeze. Doors in Holly Hills that face west get more sun exposure and dry out faster; those benefit from a third application mid-season. Use a light film – a little goes a long way, and over-lubricating attracts the pollen and grit that Holly Hills yards produce in spring.
Reading Cables and Drums: What Early Fraying Looks Like
Cables are the second half of the spring system, and they fail in ways most homeowners miss. When a cable breaks, it typically fails all at once and the door drops. But the warning signs show for months beforehand. You just have to know where to look.
Three Fraying Patterns to Check
- Individual strand separation at the drum end. Look where the cable wraps the drum. If you can see individual wire strands standing apart like a frayed rope, that cable is on its way out. A healthy cable winds tight and smooth.
- A “bird-cage” bulge near the end fitting. Where the cable ends at the bracket, look for a bulge where the strands have spread away from the core. This is a common early failure point and shows up long before the cable actually breaks.
- Rust between the wraps. If you see brown-orange staining on the cable where it coils on the drum, moisture has been getting under the casing and the cable has rusted from the inside.
What a Healthy Cable Looks Like
A cable in good condition is even, tight, and smooth as it winds onto the drum. There are no visible kinks, no cross-wrapping, and no slack. It rests cleanly against the drum wall with no gap you could slip a fingernail under.
What Not to Do
Do not try to tighten or re-seat a cable. Do not untangle a cable from the drum. Do not spray a cable with WD-40 to “loosen” it. Cables are under the same stored tension as the springs on most residential door systems. If anything looks off, close the door, leave it alone, and call for garage door repair. The early-catch window is real, but only if the person who catches it recognizes the pattern.
Seasonal Timing for Holly Hills: Freeze-Thaw and Weatherstripping
Holly Hills sits in a climate with genuine seasonal swings, and those swings stress different parts of the garage door system in different months. A maintenance schedule that works in a mild climate doesn’t fit here. The rhythm below is built around the temperature curve that Holly Hills actually experiences.
Spring
- Inspect the bottom seal for cracks that formed over winter
- Lubricate rollers, hinges, and the opener rail
- Check the auto-reverse feature after winter (cold can affect the opener)
- Wipe down and clean the door panels
- Look for rust on hinges and any hardware that saw more moisture than usual
Summer
- Mid-season lubrication check on west-facing doors (sun exposure)
- Inspect the weatherstripping around the sides and top for shrinkage
- Listen for new sounds (grinding, groaning, or rattling that wasn’t there in spring)
Fall
- Deep clean the bottom seal and check for hardening
- Re-lubricate all moving parts before the first freeze
- Check the door balance (springs contract in cold and can go out of balance)
- Verify the safety sensors are clean and aligned before short winter days limit visibility
Winter
- Watch for ice at the bottom seal and clear it before opening the door
- Listen for new sounds in the opener (battery, chain tension)
- Do not attempt to force a door that has frozen to the floor; call for help
- Note any visual changes in the springs for a spring check when the weather moderates
Why Freeze-Thaw Matters
Every time the temperature crosses the freezing mark, the bottom seal on your door goes through a small cycle of expansion and contraction. Over a Holly Hills winter, that adds up to dozens of small cycles. Rubber and vinyl seals harden, crack, and eventually fail at the corners. When the seal fails, water can get under the door, freeze against the threshold, and lift the bottom panel next time you open it. That’s how a small weatherstripping replacement turns into a panel repair. Fall is the time to head it off.
Opener Force and Auto-Reverse Testing: The CPSC Standard
Every garage door opener manufactured since 1993 in the United States is required to include a photoelectric eye safety system and a pressure-sensing auto-reverse function that meets the CPSC standard (UL 325). The eye and the auto-reverse are two separate safety systems and both need to be tested regularly. Here’s exactly how to do it, and what a passing result looks like.
The Eye Test
- Close the door fully and step inside the garage.
- Locate the two safety sensors at the bottom of the door tracks (one on each side). Check that both are lit – most have an indicator LED.
- Close the door using the wall button. While it’s closing, wave your leg or a broomstick through the beam.
- The door should immediately reverse to fully open. If it doesn’t, the eye system has failed.
- Clean the lenses with a soft cloth and re-test. If the door still doesn’t reverse, stop using the opener and call for garage door opener repair.
The Auto-Reverse Pressure Test
- Lay a 2×4 board flat on the ground under the middle of the door (a piece of 2×4 is the standard for the test and matches what the CPSC specifies).
- Close the door using the wall button.
- When the door strikes the board, it should reverse to fully open.
- If it stops without reversing, or barely reverses and then stops, the opener is out of adjustment or failing.
- Unplug the opener and call for service. Do not adjust the force limit to compensate without understanding the adjustment – a force limit that’s too loose is a safety failure, and too tight causes repeated false reversals.
Testing LiftMaster, Chamberlain, Genie, and Craftsman Openers
The test procedure is nearly identical across the major residential opener brands. LiftMaster and Chamberlain openers (both made by the same parent company) use the wall button the same way and have the same sensor placement. Genie and Craftsman openers follow the same 2×4 test. The difference shows up in how force adjustments are made: on most Chamberlain and LiftMaster units the force limit is adjusted via the travel module or wall control, while Genie and Craftsman often have a screw-based force adjustment on the motor housing. In Holly Hills, we work with all four of these opener brands and can walk a homeowner through the adjustment on their specific unit over the phone if needed.
Balance Test and Roller Condition Check
A balanced door takes almost no effort to lift by hand and holds its position when you let go. If you have to strain to lift it, or if it slams back down, that’s a sign the springs are tired or out of adjustment. Testing this once a season takes less than two minutes and flags a problem long before it becomes a breakdown.
The Balance Test, Step by Step
- Close the door fully.
- Unplug the opener from the wall outlet (not the button – the plug, so the opener cannot activate).
- Lift the door by hand to about waist height.
- Let go. The door should stay in place.
- Lift to shoulder height and let go. It should stay there too.
- If the door drops on its own, the springs need professional attention. If it rises on its own, the springs may be over-tensioned.
- Do not attempt to lift the door beyond chest height if it feels heavy or if you can’t reach the middle handle safely.
Roller Check
Rollers come in two materials: metal (durable but noisier) and nylon (quieter but shorter lifespan). Both wear out. Check each roller by looking at where it sits in the track. A worn roller will have visible flat spots or, in the case of nylon, cracks at the bearing. Metal rollers will show a visible wear ring at the contact point. If you see these signs, replace the rollers as a set – mixing new and old in the same door causes uneven wear on the track.
Hinge Wear
A loose hinge rattles when the door moves and can eventually pull out of its mounting point. Look for movement or a visible gap at the hinge where it meets the panel. Tightening a loose hinge bolt is a green-level task on most doors. Replacing a hinge that has actually pulled out of the panel is not.
When to Replace a Part vs. Repair It
The “fix it or replace it” call is where a lot of homeowners guess. Some components are meant to be serviced. Others are meant to be replaced. Here’s the practical split.
Parts That Get Replaced, Not Repaired
- Springs: A spring that has snapped cannot be re-tempered or welded. A matched pair is typically replaced together because both springs have cycled the same number of times.
- Cables: Frayed or kinked cables are replaced, not re-routed.
- Rollers: Worn rollers are replaced as a set.
- Bearings: Worn bearings on the torsion tube are replaced.
- Weatherstripping and bottom seals: Cracks or hardening mean replacement, not patching.
Parts That Get Serviced
- Hinges: Tightened, lubricated, and kept unless they’re physically damaged.
- Tracks: Minor dents can be adjusted; significant bends or track that’s pulled away from the frame need professional attention.
- Opener parts: Chain tension can be adjusted, remotes re-paired, and sensors realigned. A failing motor or failed control board means opener replacement.
Parts Supply Matters
One advantage of working with a company that handles spring, opener, and door work under one roof is parts availability. Many Holly Hills homeowners run into the wall of “the part is discontinued” when they try to track down a roller, hinge, or opener component. We stock and supply garage door parts directly, so for a repair on a Wayne Dalton, Craftsman, or Chamberlain system, the part doesn’t need to be ordered from a chain that might not have it. That translates to fewer delays and fewer second visits.
When the Whole Door Needs Replacement
Some combinations of age, damage, and repair cost tilt toward garage door installation. Doors that combine multiple simultaneous problems (damaged panels, failing springs, worn rollers, and a failing opener) often cost more to repair than to replace, and a replacement gives you a new safety system and a modern opener in one move. We don’t push full replacements on doors that have three good parts and one bad – the repair is usually the better call. But it’s worth knowing where the crossover sits.
Common Mistakes to Avoid
- Treating “check springs” as if it means “touch springs.” The check is visual only. Run your eyes along the coil from a foot away. Do not touch, spray, or adjust a torsion or extension spring, even if it looks fine. That’s how a maintenance task turns into an injury.
- Using WD-40 on springs or hinges. WD-40 is a penetrating oil, not a lubricant. On springs it strips the coating and offers no protection. On hinges it dries to a tacky film and collects grit. Use silicone on rollers and lithium on hinges.
- Skipping the auto-reverse test because the door “sounds fine.” The auto-reverse is a safety system, not a sound system. A quiet door can still fail the 2×4 test and leave a serious safety gap. Test it every season.
- Forcing a frozen bottom seal open in winter. If the door is stuck to the floor, that’s a seal problem, not an opener problem. Forcing it can bend panels or burn out the opener. Clear the ice and treat the seal.
- Adjusting the opener’s force limit to “fix” a slow-closing door. A door that strains to close usually has a spring, roller, or balance problem. Loosening the force limit only hides the symptom and disables a safety feature.
- Replacing one roller when six are worn. On a door, rollers wear as a set. Replacing one won’t fix the noise or the wear pattern and can push more strain onto the newest roller than it can handle.
- Ignoring a visual change in the door panels. If a Clopay, Amarr, or Wayne Dalton panel has developed a visible crack or fatigue line at the hinge point, that’s worth a call. Panel fatigue doesn’t fix itself and can let in more moisture over a Holly Hills winter.
See the difference
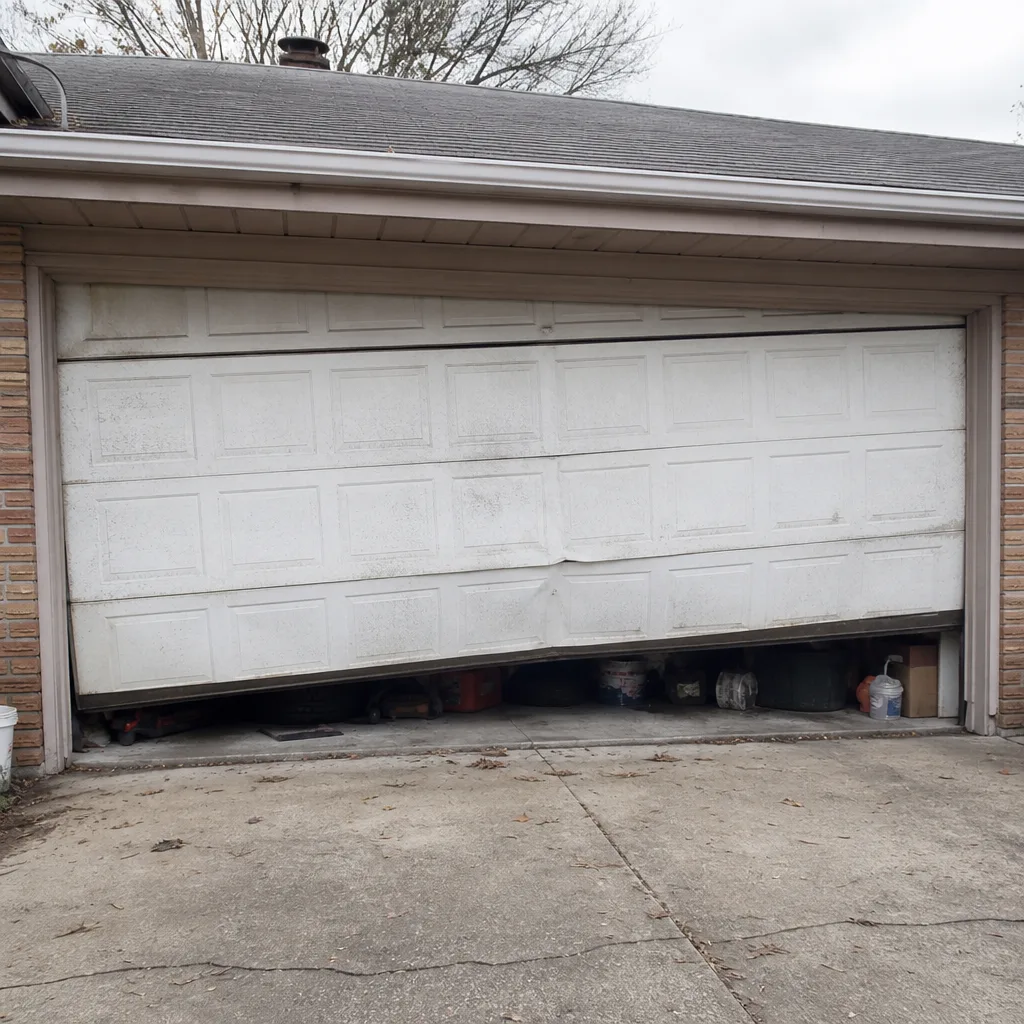 Before
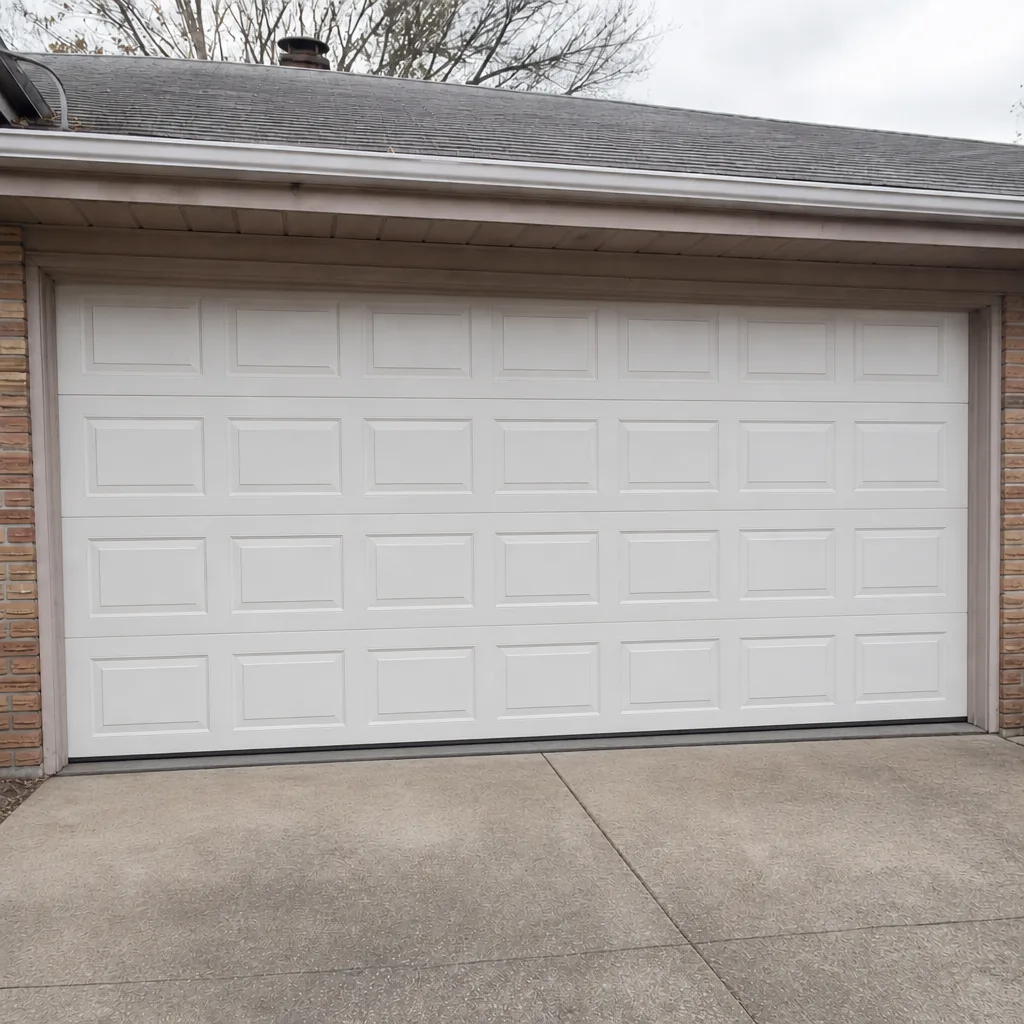 After
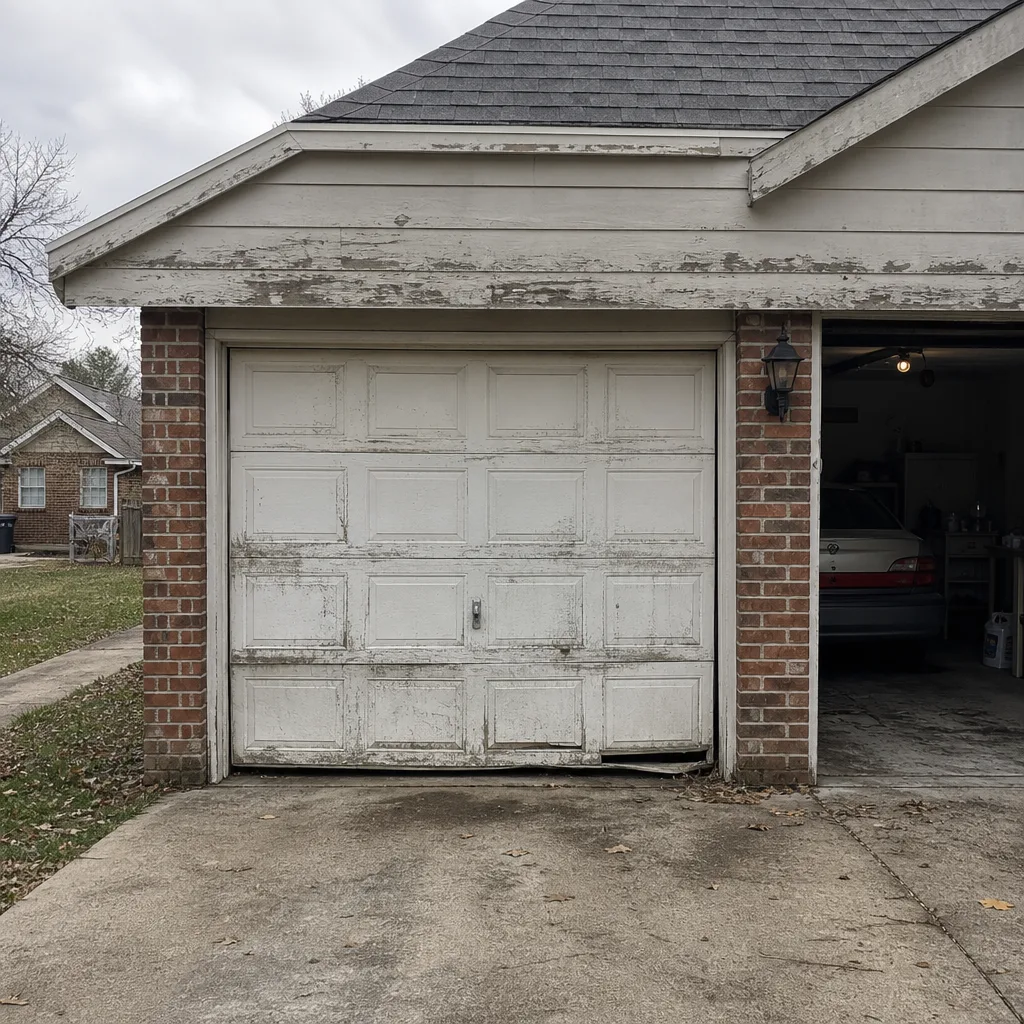 Before
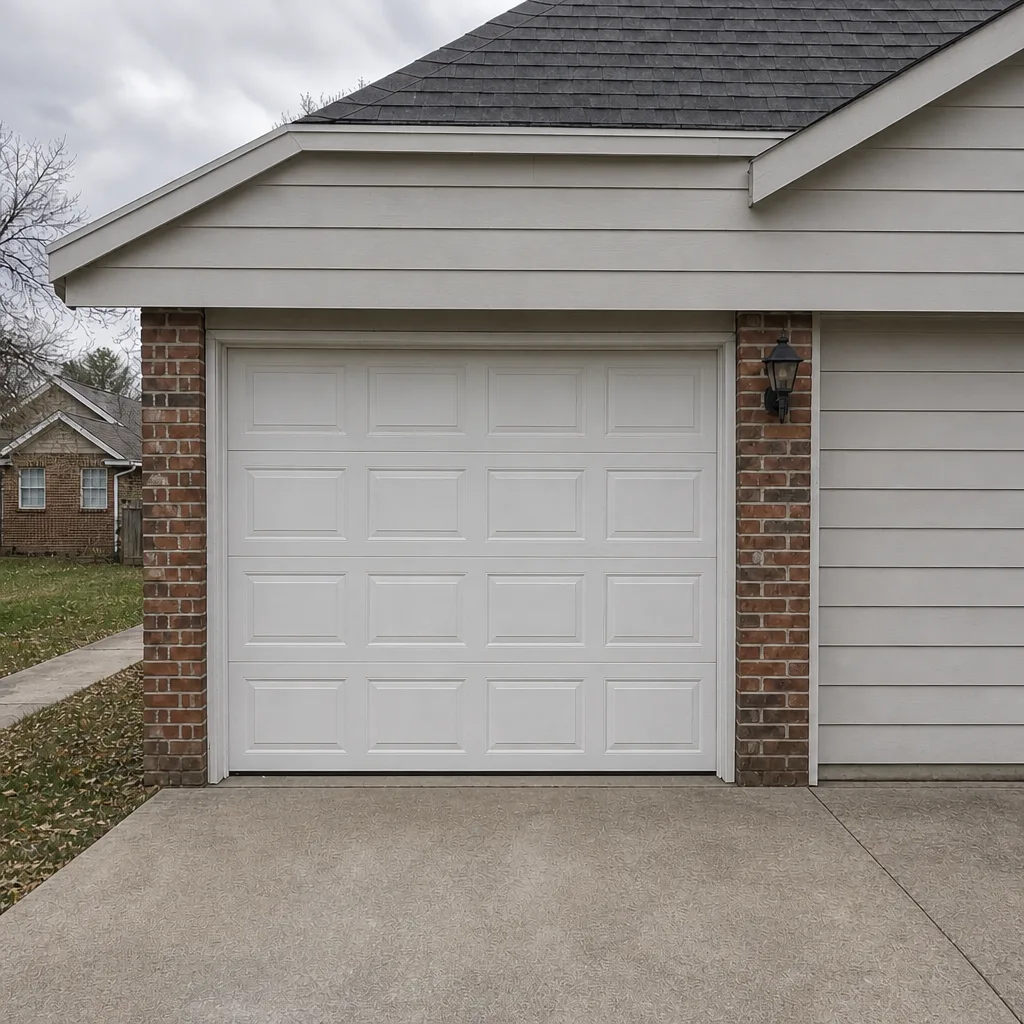 After
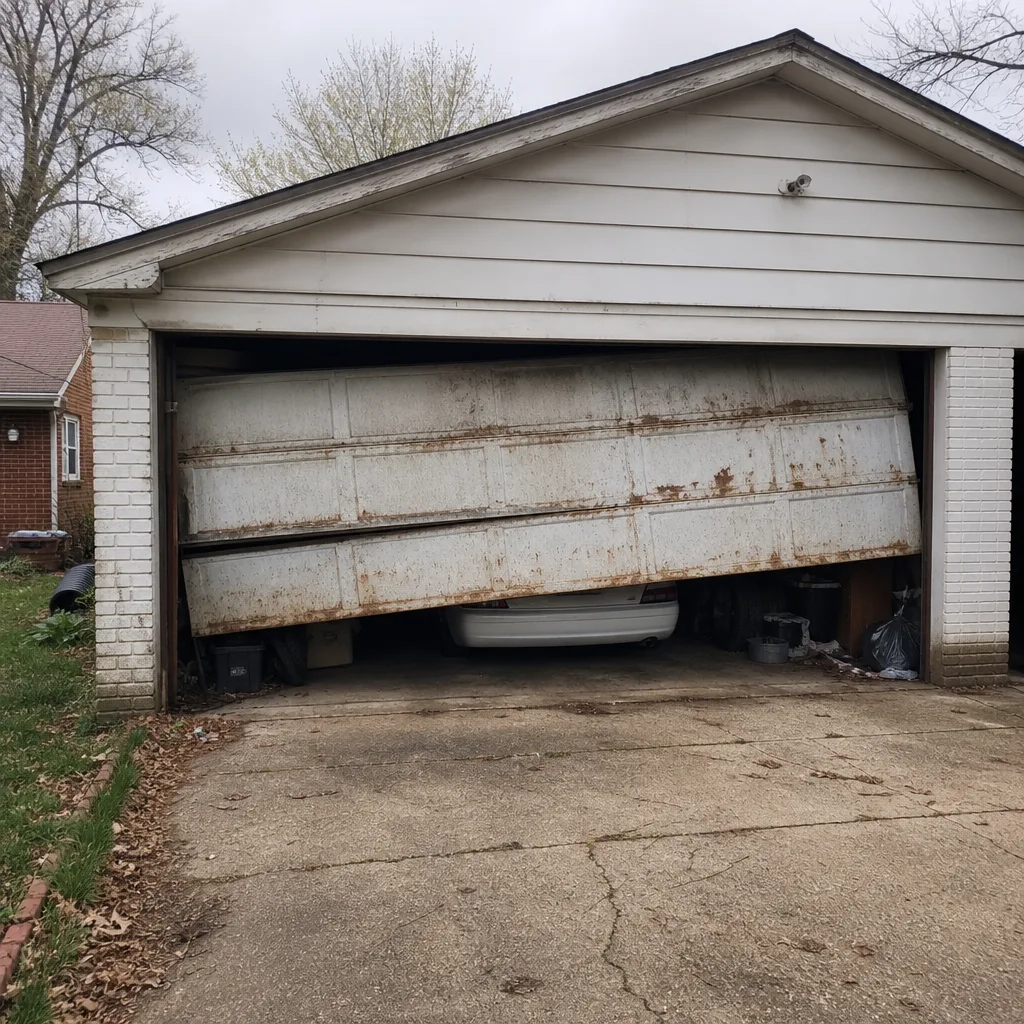 Before
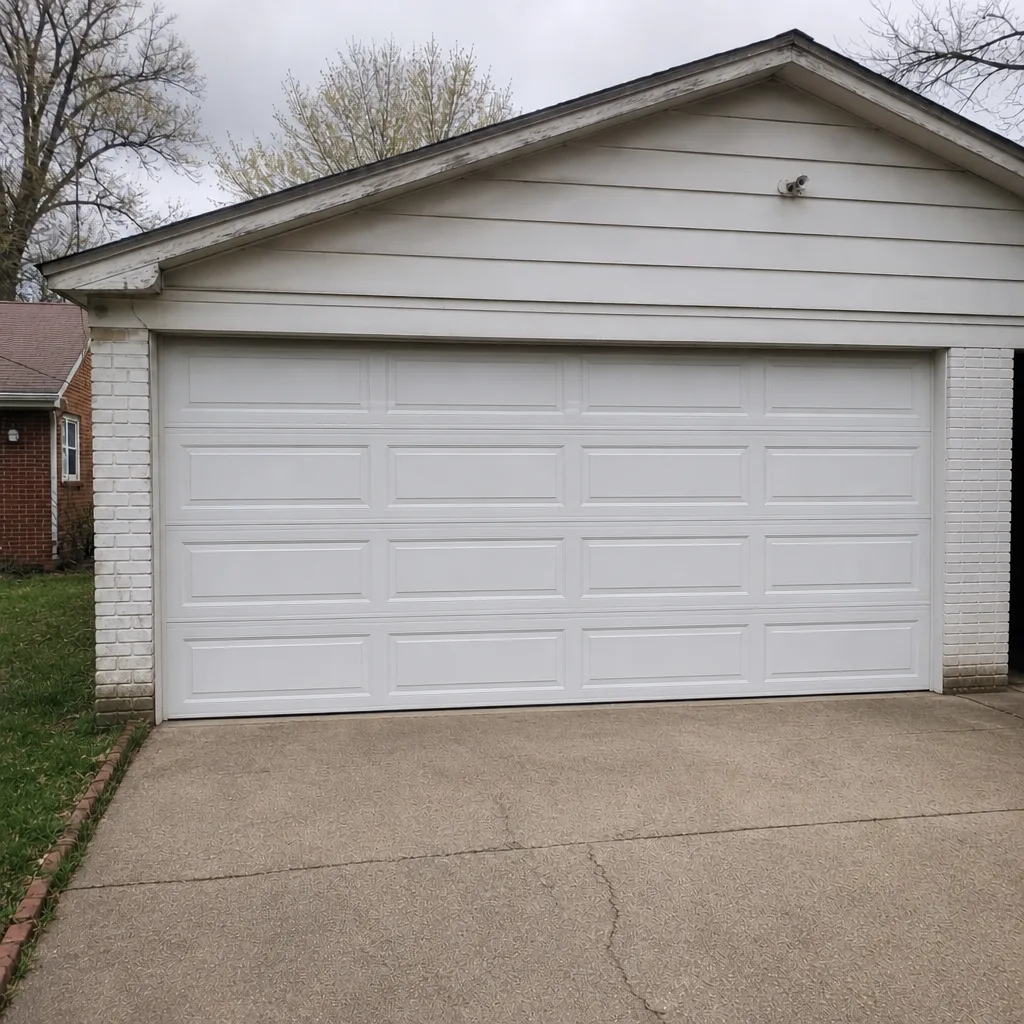 After
When to Call a Professional
Call a professional the moment a task crosses from green or yellow into red. That means any spring work, any cable or drum problem, any door that won’t open or close safely, any snapped spring, and any opener that fails the auto-reverse test even after cleaning the sensors. Also call if the door has started making a new sound you can’t identify, if a panel has cracked visibly, or if the balance test shows the door dropping on its own. We see these Holly Hills calls often, and each one is a job that gets smaller when it’s caught earlier. Garage Door Repair Holly Hills offers free estimates in Holly Hills – call (855) 550-7571. The local pro is licensed and insured as their state requires, and we quote and agree the price before any work starts.
Frequently Asked Questions
Twice a year is the baseline: once in spring and once in fall. Add a mid-summer lubrication pass on west-facing doors and a winter seal check when the freeze-thaw cycle is at its peak. Doors that haven’t had maintenance in over a year should get the full list right away, particularly the auto-reverse test and the cables check.
No. Torsion springs should never be lubricated, sprayed, or touched. They sit under stored tension in a foot-pound range that can cause serious injury if disturbed. Leave them alone entirely – the “maintenance” for a torsion spring is looking at it from a safe distance to check for visible coil changes, not touching it.
A snapped spring or an unopened door is the obvious end-stage sign, but the earlier signals are quieter. The door gets noticeably heavier to lift by hand, or it won’t hold position at the halfway balance test. You may also hear a single loud bang from the garage as the spring snaps – this is often mistaken for a door falling when the door itself hasn’t moved.
Yes, and you should. The 2×4 test is a green-level task on virtually any residential door. Lay a piece of 2×4 flat and close the door onto it. It should reverse to fully open. If it doesn’t, unplug the opener and call for service. The sensor-eye test is equally safe – just wave a leg or broomstick through the beam during close.
Not necessarily for the diagnostics – you can test force and auto-reverse yourself. You do need one when the opener fails the test, when the control board or motor has failed, or when the force adjustment needs a change you don’t feel confident making. We work with LiftMaster, Chamberlain, Genie, and Craftsman openers on a routine basis, so there’s no brand we’d turn away over unfamiliarity.
After winter, check the bottom seal for cracks and hardening, lubricate rollers and hinges, clean the sensor lenses, and run the balance test. If you had ice forming at the threshold during the freeze-thaw cycle, the seal likely needs replacement – that’s the panel repair risk we mentioned losing a little sleep over, and it’s worth handling in spring rather than waiting for the fall.
You can safely do most of it: visual inspection, lubrication, the auto-reverse test, the balance test, cleaning the seals. The items you cannot touch are springs, cables, and drums. Those are red-level, meaning professional only, no exceptions. If you’re ever unsure which level a task is, treat it as red until you’ve confirmed otherwise.
The Bottom Line
Garage door maintenance in Holly Hills isn’t about checking a list – it’s about knowing which items on that list can hurt you. Springs and cables carry stored energy that’s genuinely dangerous, so those are eyes-only. Rollers, hinges, seals, and rail lubrication are safe to handle and worth doing twice a year. Test the auto-reverse every season with the 2×4 standard, run the balance test after any change in door feel, and watch for the three cable fraying patterns. Catch a problem in spring and it stays small. Miss it until fall and you’re looking at a bigger repair. If you’re not sure which level a task falls into, treat it as red and call us. We work on Clopay, Amarr, Wayne Dalton, and Craftsman doors and the four major opener brands, so a checklist question rarely meets its match here. For a free estimate on any repair, spring, opener, or installation job in Holly Hills, call (855) 550-7571. Estimates are free, and we quote before we touch a single part.
Written by the team at Garage Door Repair Holly Hills.